Expert Guide to Growing Brinjal on Your Rooftop | Sustainable Urban Gardening
Expert Guide to Growing Brinjal on Your Rooftop.Hello urban gardeners!
I’m a Bsc agriculture graduate and done masters in mba abm working in the field of agriculture, and today I want to share a project that beautifully blends science, sustainability, and self-sufficiency—growing brinjal (eggplant) right on your rooftop.
Whether you live in a bustling city apartment or a small independent house, your rooftop can be transformed into a mini organic farm. With the right scientific approach, even limited spaces can produce nutrient-rich, chemical-free vegetables that contribute to a healthier lifestyle and greener planet.
In this guide, I’ll walk you through the science-backed methods of growing brinjal in containers, while also sharing some pro tips from the world of urban rooftop gardening.
1. Why Brinjal is Perfect for Rooftop Gardening
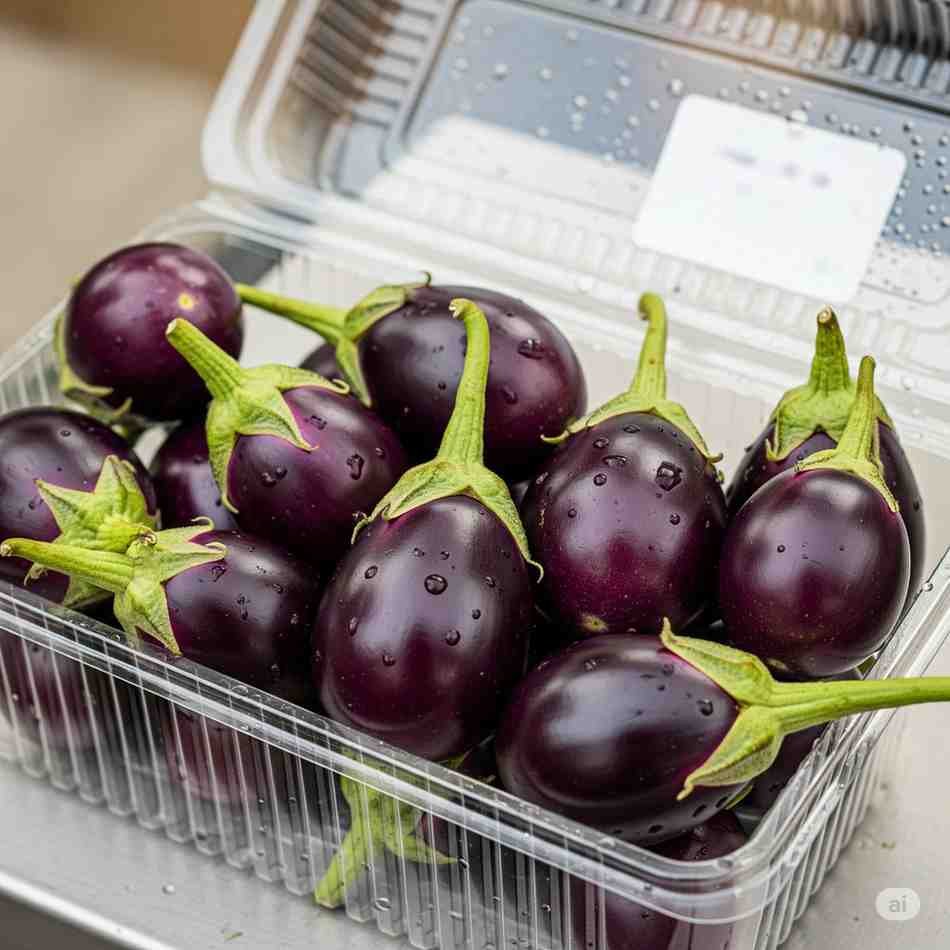
Brinjal, also known as eggplant or aubergine, is a nutrient-dense vegetable rich in fiber, antioxidants, and essential minerals. Scientifically, it’s part of the Solanaceae family (same as tomatoes and peppers) and adapts well to controlled container gardening systems.
Key reasons brinjal works wonderfully on rooftops:
- ✅ Compact growth habit (especially dwarf and hybrid varieties)
- ✅ High yield potential even in small containers
- ✅ Tolerant to heat and direct sunlight—perfect for exposed rooftops
- ✅ Supports organic farming and sustainable urban food systems
2. Choosing the Right Variety & Container
Best Varieties for Rooftop Farms
As a scientist, I recommend dwarf or hybrid brinjal cultivars such as:
- Pusa Purple Long – elongated fruits, high productivity
- Pusa Purple Round – compact plant, perfect for pots
- Arka Nidhi / Arka Kusumakar – hybrids developed for container-friendly growth
These varieties not only save space but are also disease-resistant, reducing the need for heavy pest control.
Ideal Containers
Brinjal roots need oxygen-rich, well-drained media. Use:
- Grow Bags (40–60 liters / 10–15 gallons)
- Large Terracotta Pots (porous, natural aeration)
- Plastic Drums cut in half (budget-friendly, durable)
Always ensure multiple drainage holes to prevent root rot—a common cause of plant failure in rooftop setups.
3. The Science of the Perfect Potting Mix
Traditional garden soil isn’t ideal for rooftop gardening. It’s heavy, compacts easily, and strains the roof load. Instead, use a lightweight, nutrient-rich soilless mix designed for container gardening.
Here’s a scientist-approved potting mix recipe:
- 1 part Coco Peat / Coco Coir – sustainable, excellent moisture retention
- 1 part Perlite or Vermiculite – enhances aeration & drainage
- 1 part Vermicompost / Organic Compost – natural fertilizer + microbial life
- A handful of Neem Cake Powder / Mustard Cake – improves fertility & acts as a natural pesticide
This blend ensures roots have oxygen, nutrients, and microbial activity, mimicking the natural soil ecosystem.
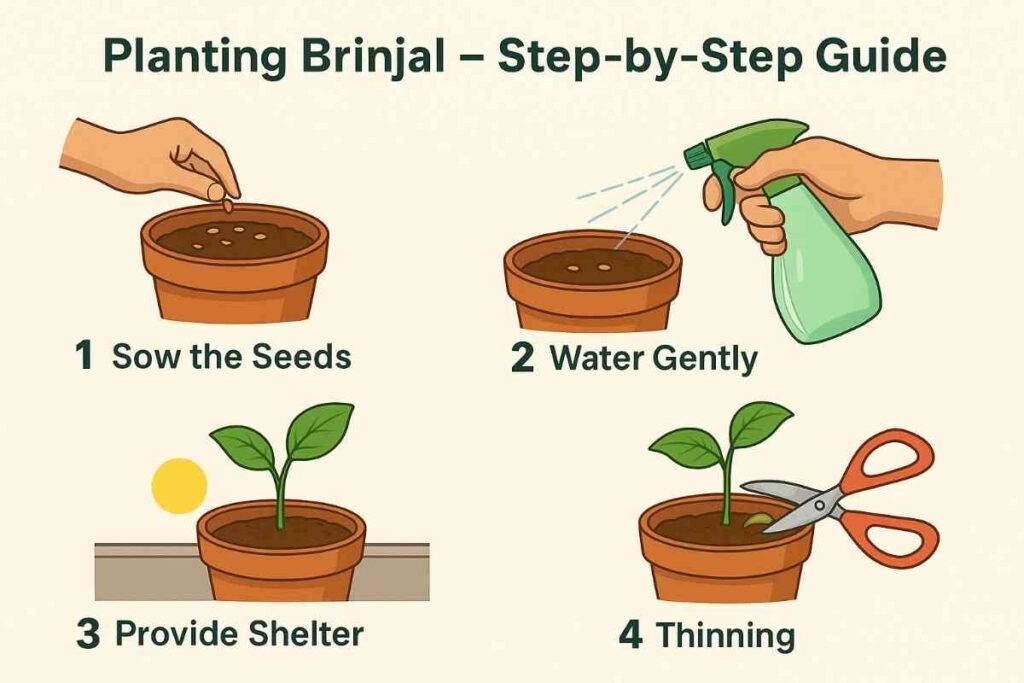
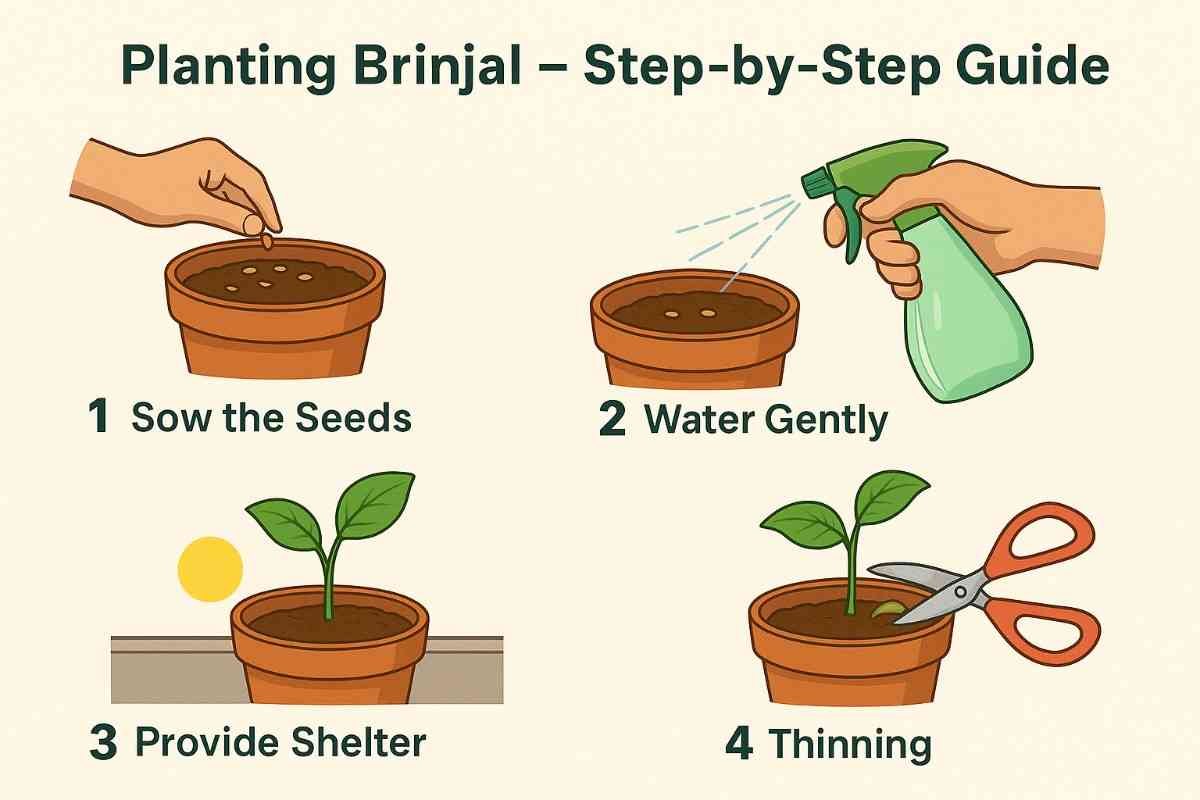
4. Planting Brinjal – Step-by-Step Guide

- Seed Selection & Germination
- Use certified organic seeds.
- Germinate seeds in a nursery tray or coco peat plugs for stronger seedlings.
- Maintain soil temperature 24–29°C (75–85°F) for quick germination.
- Transplanting
- Once seedlings have 3–4 true leaves, carefully transplant them into your rooftop containers.
- Place only one healthy seedling per container for maximum growth.
- Sunlight Needs
- Brinjal loves full sun – ensure 6–8 hours of direct sunlight daily.
- Staking for Support
- Use bamboo stakes or small cages to prevent plants from toppling as fruits develop.
5. Caring for Your Rooftop Brinjal Farm
Watering – Brinjal prefers consistent moisture. Deep water 2–3 times per week depending on heat, but avoid overwatering.
Fertilization – Supplement nutrients every 10–14 days with:
- Organic liquid seaweed extract (boosts root growth)
- Fish emulsion or vermicompost tea for nitrogen & micronutrients
🪲 Pest Management (Organic Solutions)
Common rooftop pests include aphids, flea beetles, and spider mites. Instead of chemical sprays:
- Apply Neem Oil Spray (2–3 ml per liter of water) weekly
- Release ladybugs (natural predators of aphids) if possible
- Rotate with mild soap sprays to reduce infestation
6. Harvesting Brinjals Like a Pro

- Brinjals are ready for harvest 60–80 days after transplanting.
- Look for firm, glossy-skinned fruits—dull skin means overripe.
- Use a sharp pruning shear to cut the stem, leaving a small portion attached.
Fun fact: Regular harvesting stimulates more flowering and fruiting, so pick often!
7. Scientific Insights for Rooftop Garden Success
- Heat Stress Management: In very hot cities, cover your containers with a reflective mulch sheet to reduce heat absorption.
- Wind Protection: Rooftops can be windy—install simple wind barriers (bamboo screens or mesh) to prevent stem damage.
- Sustainable Practice: Collect kitchen waste compost to recycle nutrients into your potting mix.
- Water Harvesting Tip: Use rooftop rainwater harvesting to irrigate your plants—eco-friendly and cost-effective.
Final Thoughts
Growing brinjal on your rooftop isn’t just about producing vegetables—it’s about reclaiming urban spaces, reducing your carbon footprint, and ensuring access to organic, pesticide-free food. With every harvest, you’re contributing to sustainable urban agriculture and proving that science and gardening together can transform concrete jungles into living, breathing green spaces.
So, the next time you step onto your rooftop, don’t just see empty space—see the potential for a self-sufficient rooftop farm. With the right mix of science, care, and passion, your brinjal harvest will be as rewarding as it is delicious.
Read more articles here
- Digital India: Identify Your Land Survey Number Instantly Using Your Smartphone
- AI in Farming: How Indian Farmers Are Transforming Agriculture
- Best Winter Crops for Export From India
- Dhaincha Farming Guide: Save 50% on Urea & Improve Soil Health
- Fertilizer Booking App Guide: How to Book Urea Online


